Activity Science
Bridge Rescue Test
Design, test, and improve a block bridge that can carry a toy rescue vehicle.
- 👧 Ages 4–7
- 🎓 Pre-primary, Kindergarten, Grade 1
- ⏱ 25 minutes
- 🏠 Indoor
- ⚡ Moderate
- 👥 1–4 players
What are we doing?
Your mission
Build a bridge across a pretend river, test it with small loads, improve weak points, and complete a rescue crossing.
Stay safe
Safety note
Build at floor level with stable, lightweight materials. Keep the route clear and never climb on or stand under the model bridge.
Get ready
Materials needed
- Building blocks
- Cardboard strips
- Painter's tape
- Toy rescue vehicle
- Small beanbags
- Blue paper or cloth
Follow the clues
Your play plan
0 of 5 complete
Step 1
Set the Rescue Scene
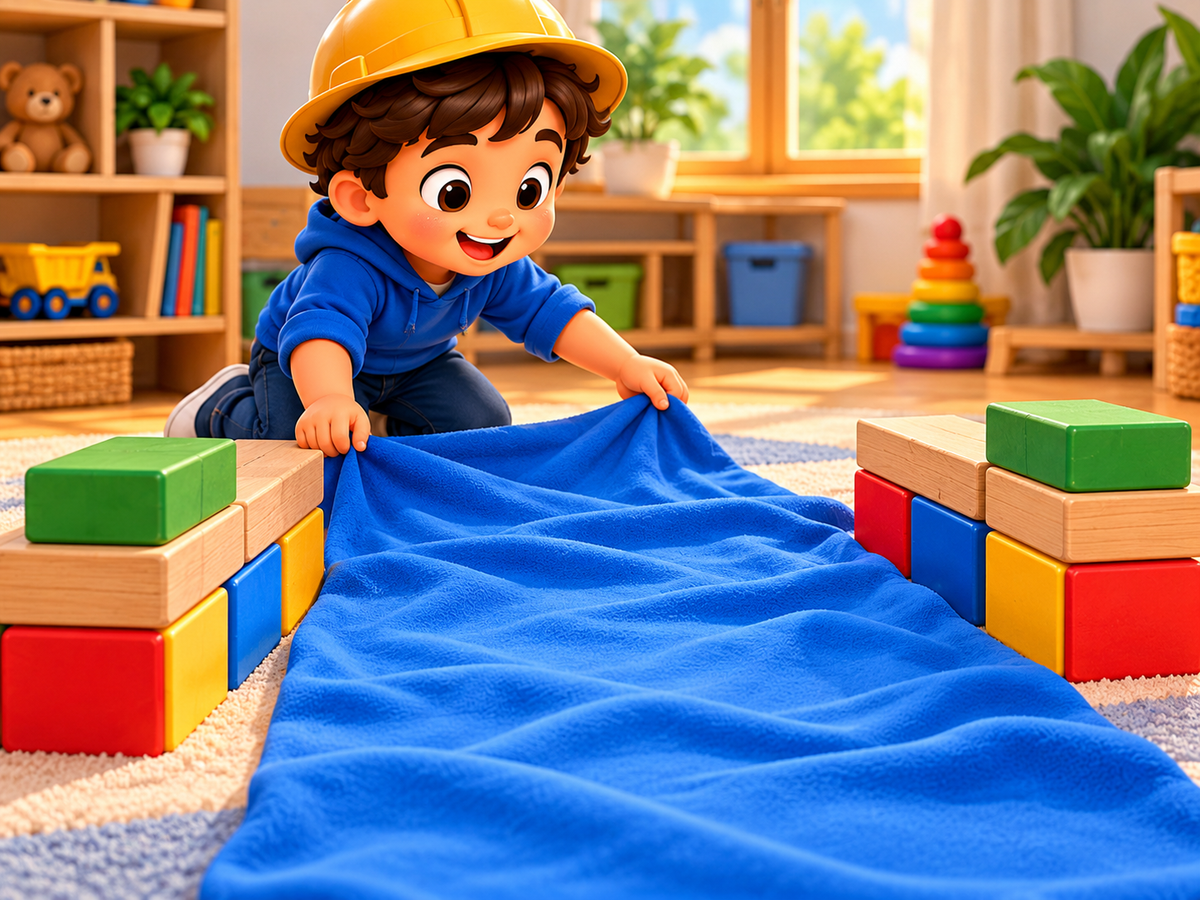
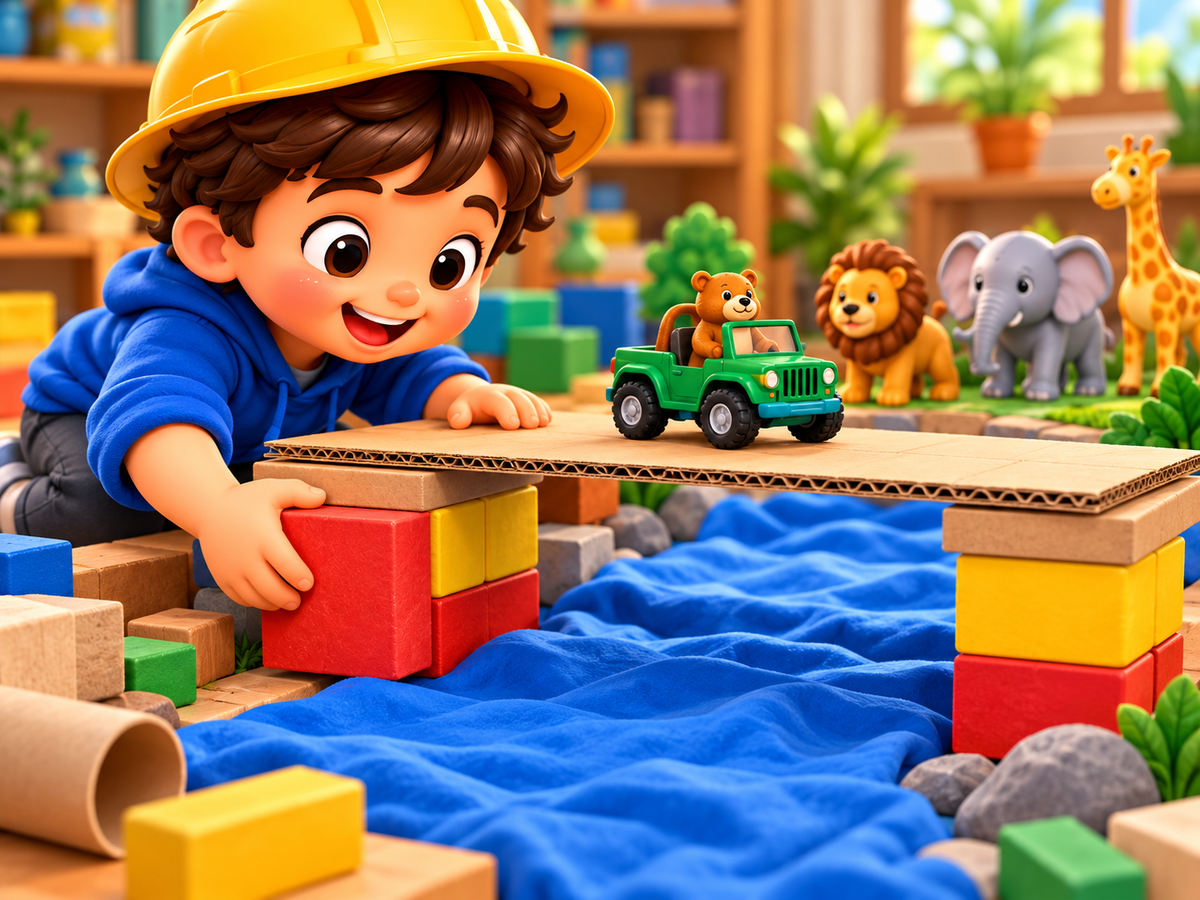
Lay down a blue paper river and place the rescue goal safely on the other side.
“What will you notice or decide during set the rescue scene?”
Grown-up tip
Let the child lead the decision, offer one prompt at a time, and keep the materials and play area safe.
Step 2
Build a Bridge
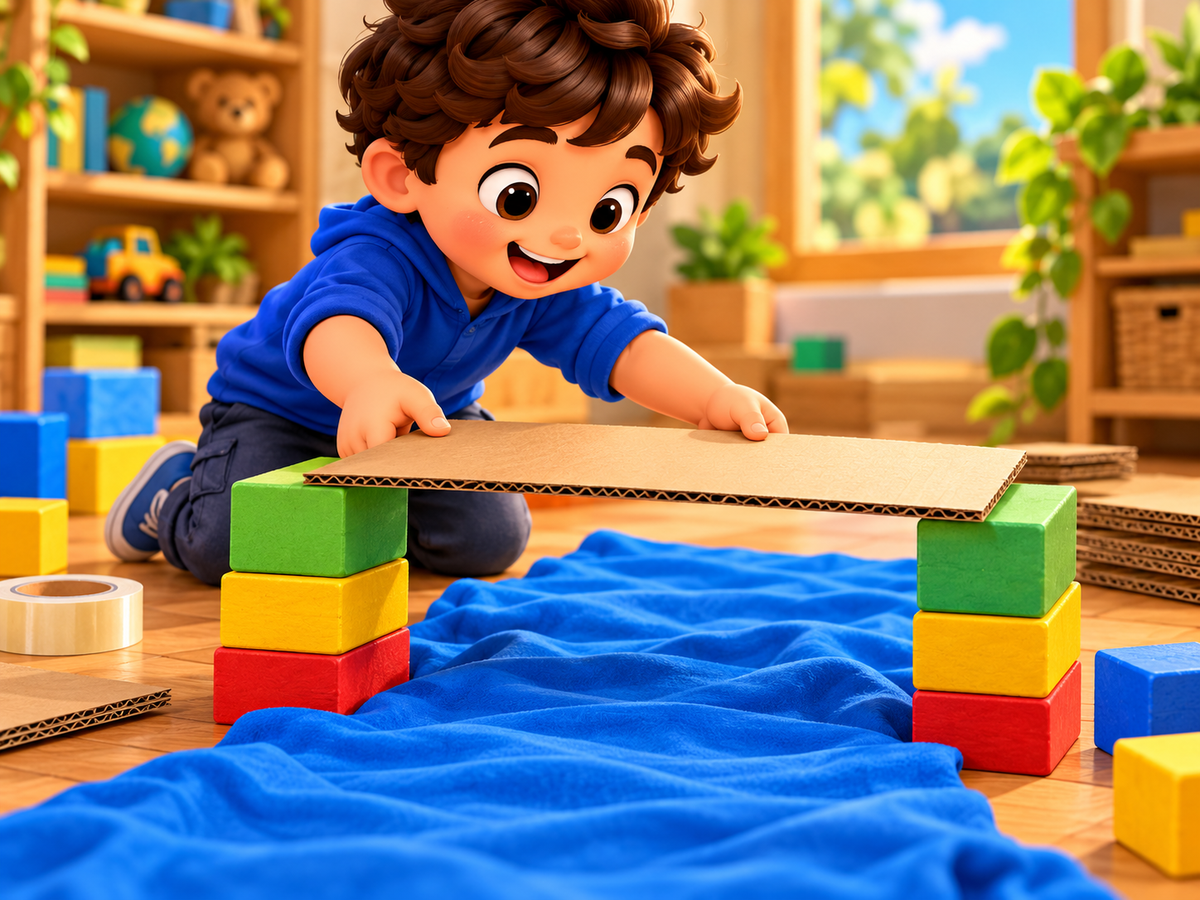
Use blocks and cardboard to make two supports and a level road deck.
“What will you notice or decide during build a bridge?”
Grown-up tip
Let the child lead the decision, offer one prompt at a time, and keep the materials and play area safe.
Step 3
Test the Load
Add one small beanbag at a time and observe where the bridge bends or shifts.
“What will you notice or decide during test the load?”
Grown-up tip
Let the child lead the decision, offer one prompt at a time, and keep the materials and play area safe.
Step 4
Improve the Design
Widen the supports, shorten the span, or add another layer, then test again.
“What will you notice or decide during improve the design?”
Grown-up tip
Let the child lead the decision, offer one prompt at a time, and keep the materials and play area safe.
Step 5
Complete the Rescue
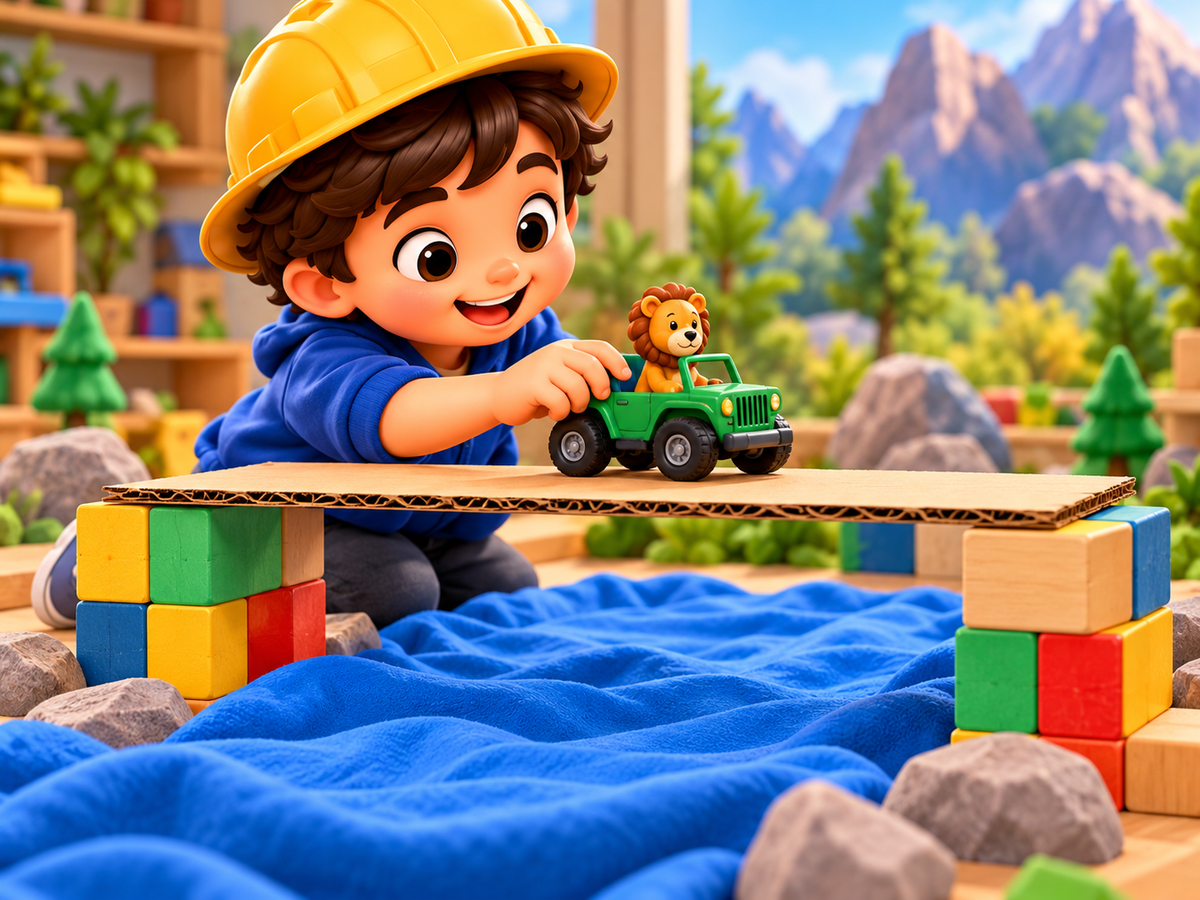
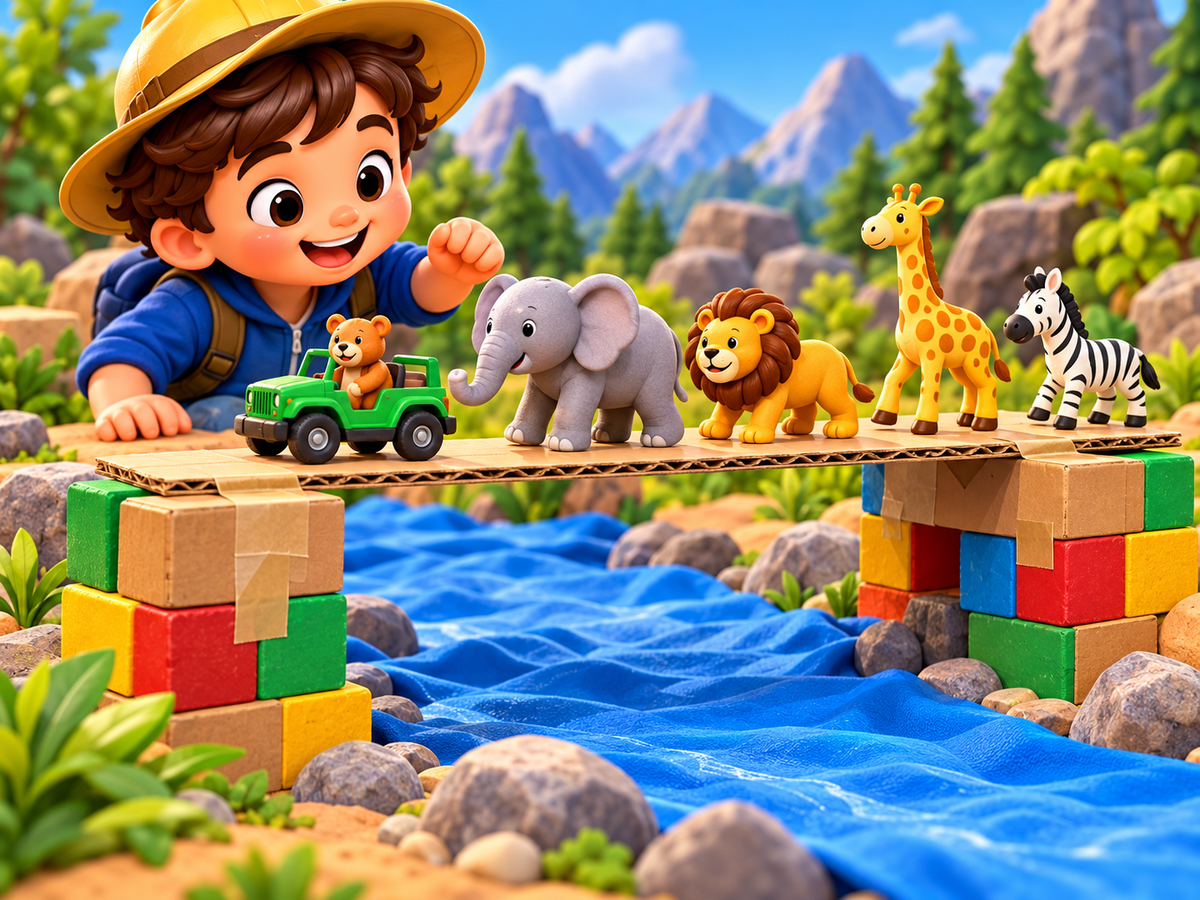
Drive the toy vehicle slowly across the improved bridge to reach the goal.
“What will you notice or decide during complete the rescue?”
Grown-up tip
Let the child lead the decision, offer one prompt at a time, and keep the materials and play area safe.
Progress is saved only on this device.
Learning and development
Skills children practise
Build observation, planning, problem-solving, communication, and creativity through the Bridge Rescue Test play sequence.
- ✓ Observation
- ✓ Planning
- ✓ Problem solving
- ✓ Creativity
Make it gentler
Easier version
Prepare the materials and first choice in advance, complete three steps together, and use picture prompts throughout.
Add a challenge
Harder version
Add one new constraint, ask the child to predict the result, and compare the prediction with the final outcome.
Grown-up corner
For parents
Prepare any adult-only materials first, then use open questions and let the child make the activity's key choices.
Classroom idea
For teachers
Use small-group roles for planner, materials helper, tester, and reporter; rotate roles and invite children to explain their evidence.